
Coconut Yogurt Separated: Causes and Fixes
What a separated coconut yogurt looks like
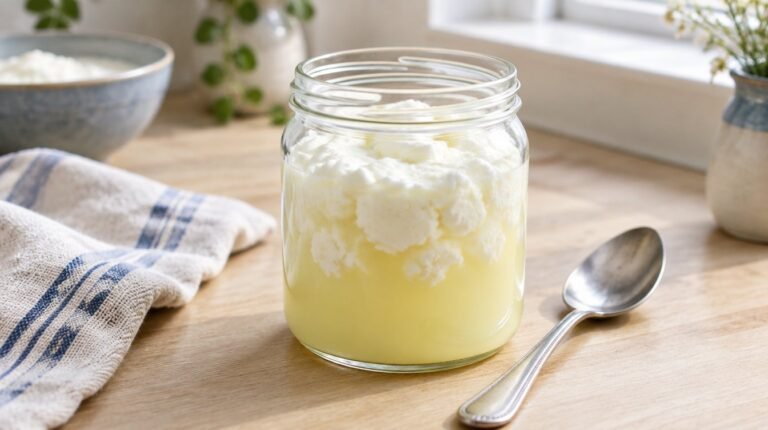
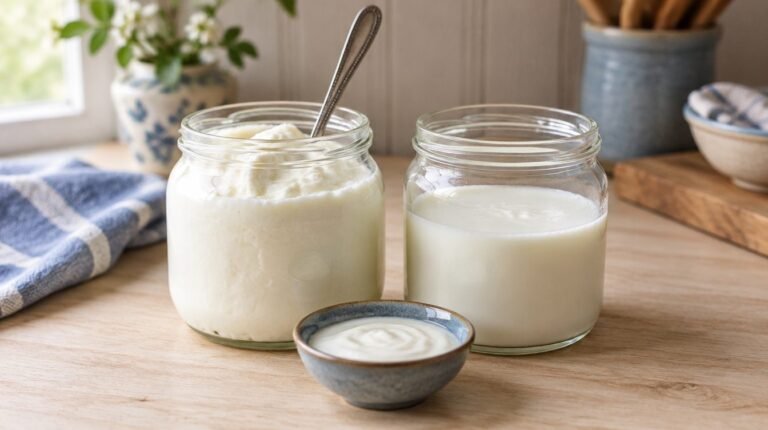
You open the jar and find a firm, waxy white layer sitting on top, with thin, grayish liquid or loose curds underneath. It can happen during incubation or only after a night in the fridge.
In most cases this is the coconut fat separating from the water, not spoilage. Our main coconut yogurt guide covers the full method; this page deals only with the split.
The most likely cause: lots of fat, very little protein
Dairy yogurt sets because milk protein forms a gel as the cultures make acid. Coconut milk does not have much protein to build that gel. USDA FoodData Central lists canned coconut milk at about 21 grams of fat and 2 grams of protein per 100 grams, compared with about 3.3 grams of fat and 3.2 grams of protein in whole cow’s milk. That is a lot of fat with little to hold it in place.
Food scientists have studied exactly this. A 2026 lab study in Food Chemistry linked the instability of coconut milk to its high fat-to-protein ratio, and found that the main coconut protein settles out easily and is a poor emulsifier. A 2026 study of coconut yogurt described the product as having poor stability and a weak texture unless protein was added.
Temperature adds to it. Coconut oil melts at about 78°F, according to the Harvard T.H. Chan School of Public Health, so at culturing temperatures of 100°F or more the fat is fully liquid and drifts upward. Once the jar is chilled, that floating fat turns solid and forms the hard cap you see.
How to fix a separated batch
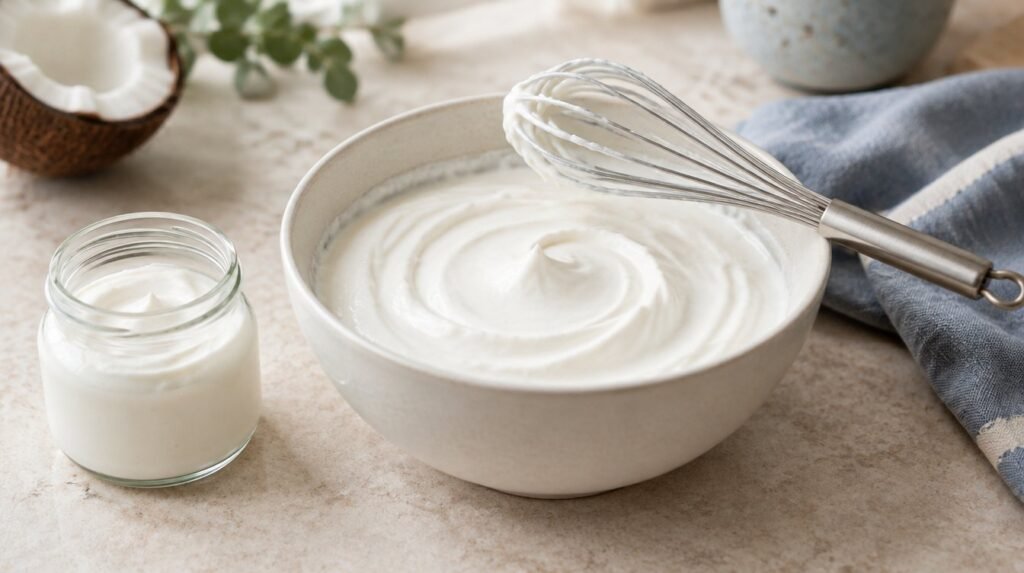
If the yogurt smells clean and tangy and shows no mold or odd colors, you can bring it back together.
- Leave the closed jar on the counter for 15 to 20 minutes so the fat cap softens. Keep the total time out of the fridge under 2 hours, the limit USDA sets for perishable food (1 hour above 90°F).
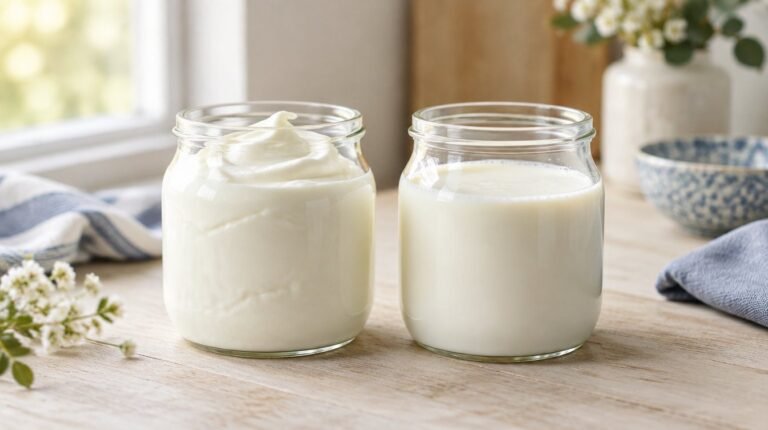
- Scrape the cap into the liquid and whisk for 30 to 60 seconds, or blend for 10 to 15 seconds, until smooth.
- Pour it into a clean jar and chill for at least 4 hours; it thickens as the fat firms up evenly.
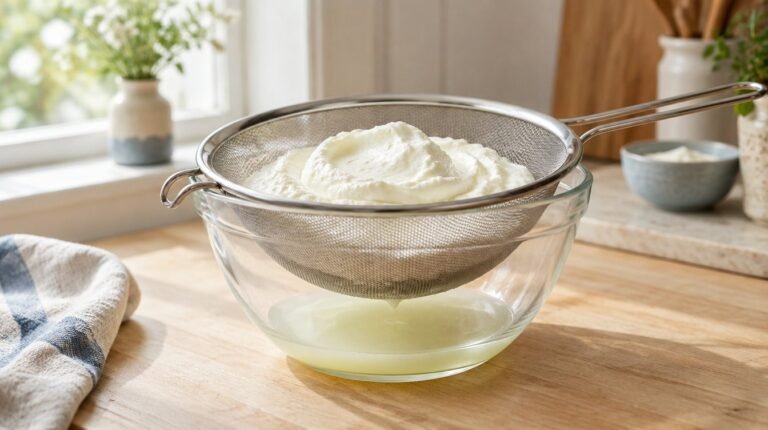
- If it is still too thin, strain it through a fine mesh strainer in the fridge for 1 to 2 hours, or use it in smoothies and dressings instead.
Other causes worth checking
- Too much fat: In one 2024 lab study, coconut milk with 5 to 10 percent fat stayed the most stable in storage, and stability dropped as fat rose toward 20 percent. Pure coconut cream is more likely to split.
- Too little fat: Very light coconut milk fails in the other direction. In a 2026 study, coconut yogurt with 7 percent fat held water better and separated less than versions with 2 or 14 percent fat.
- Incubating too long or too hot: University of Guam Extension lists long incubation and moving the jars while they set as causes of excess whey separation. University of Kentucky Extension adds uneven temperatures and slow cooling.
- Late chilling: University of Illinois Extension notes that yogurt left out after incubation, instead of going straight into the fridge, is more likely to separate.
If your batch stayed thin from the start rather than splitting, see plant milk would not thicken. For dairy batches, yogurt separated into curds and whey covers the dairy side.
How to prevent it next time
- Blend the coconut milk for 20 to 30 seconds before heating so the fat and water start out evenly mixed. Canned coconut milk often separates in the can.
- Choose full-fat canned coconut milk rather than cream or a thin carton beverage, based on the fat ranges above.
- Add a thickener while you heat the milk. Guam Extension lists gelatin, pectin, agar, guar gum and tapioca starch as stabilizers that improve texture. In a 2025 study, 0.25 percent psyllium husk powder (about 1 gram per 14-ounce can) gave the most stable gel and lowered whey loss.
- Cool the milk to your culture’s temperature before adding starter. Classic yogurt cultures work at 108 to 115°F, per Illinois Extension; check our temperature by strain table for other cultures.
- Hold a steady temperature and do not move the jars until they are done. A thermostat-controlled maker helps here; see how to incubate yogurt.
- Chill the jars as soon as incubation ends.
Adding a little plant protein can also help. In the 2026 coconut yogurt study, versions fortified with soy protein isolate were firmer, held water better and were more stable. These are small lab studies, so treat them as a guide.
When to throw a batch out
Separation alone is not a reason to discard coconut yogurt. A bad smell, color or growth is. Guam Extension advises discarding any yogurt with visible signs of microbial growth or odors other than the fresh, acidic smell of yogurt.
- Mold: Throw out any yogurt with mold. USDA says soft, moist foods like yogurt can be contaminated below the surface, so scraping it off is not enough.
- Pink, orange or other colors: Discard. See yogurt has a pink or orange tint.
- Yeasty, rotten or very cheesy smells: Discard. See yogurt smells yeasty.
- Left warm too long: If the jars sat at room temperature for more than 2 hours after incubation, USDA advises throwing them out.
When in doubt, throw it out. Do not taste a batch to decide whether it is safe.
Related topics
- Coconut Yogurt: the full method for making it at home.
- Plant Milk Would Not Thicken: when the batch stays runny.
- Yogurt Separated After Refrigeration: splitting that shows up in the fridge.
- Milk Type vs Yogurt Texture: how different milks set.
- How to Thicken Yogurt: more thickening options.
- Non Dairy Probiotics: other dairy-free options.
Sources
- Nuts, coconut milk, canned (liquid expressed from grated meat and water) (USDA FoodData Central, SR Legacy)
- Milk, whole, 3.25% milkfat, with added vitamin D (USDA FoodData Central, SR Legacy)
- Wang Y, et al. An exploration on coconut milk stability by protein characterization, sterilization controlling, and alternative protein emulsifiers (Food Chemistry, 2026)
- Dai J, et al. Physicochemical properties and flavor profile of coconut yoghurt: the dual role of fat reduction and protein fortification (Food Research International, 2026)
- Chen Y, et al. The role of fat content in coconut milk: stability and digestive properties (Food Chemistry, 2024)
- Zong X, et al. Effects of endogenous fat content on gel network, physicochemical properties, and flavor of plant-based coconut yogurt (Food Research International, 2026)
- Gülhan A, et al. Evaluation of psyllium (Plantago ovata L.) husk powder as a stabilizer in coconut milk-based probiotic yogurt production (Food Science & Nutrition, 2025)
- Coconut Oil (Harvard T.H. Chan School of Public Health, The Nutrition Source)
- Making Yogurt at Home (FP-01) (University of Guam Cooperative Extension, 2016)
- Making Yogurt at Home (IP-36) (University of Kentucky Cooperative Extension Service)
- Making Yogurt at Home (University of Illinois Extension)
- Molds on Food: Are They Dangerous? (USDA Food Safety and Inspection Service)
- Leftovers and Food Safety (USDA Food Safety and Inspection Service)