
How to Make Yogurt at Home: A Step-by-Step Guide
How to make yogurt at home: the short version
Here is how to make yogurt at home: heat 1 quart of pasteurized milk to 180°F (82°C) and hold it for 10 minutes, cool it to 112–115°F (44–46°C), stir in 2 tablespoons of plain yogurt with live cultures, and keep it near 110°F (43°C) for 6 to 8 hours, until set. Then refrigerate it.
What you’ll end up with
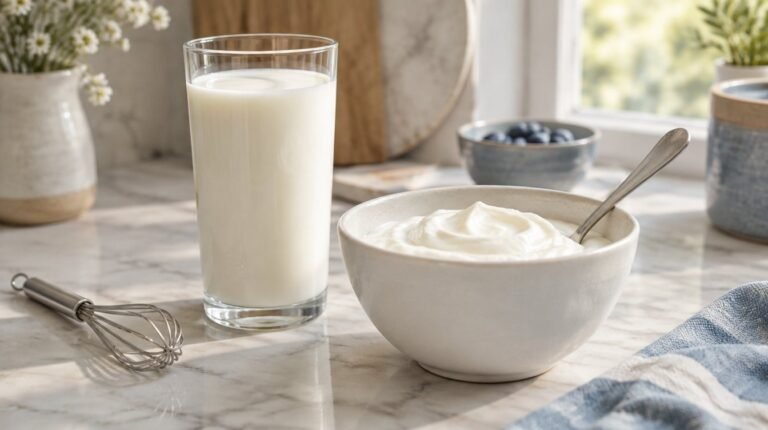
One quart of milk makes about 4 to 5 cups of plain, tangy yogurt, according to the National Center for Home Food Preservation (NCHFP). It sets undisturbed in the jar, which makes it firmer than stirred yogurt.
The process is a simple fermentation. Starter bacteria turn lactose, the milk sugar, into lactic acid, and the milk sets into a gel once its acidity reaches pH 4.6. Homemade yogurt isn’t heat-treated after it sets, so its cultures are still alive when you eat it; commercial yogurt heat-treated after culturing must be labeled “does not contain live and active cultures” under the federal yogurt standard.
Equipment you need
- A heavy 2-quart pot (University of Illinois Extension), or a double boiler, as Washington State University (WSU) Extension uses, to reduce scorching.
- A food or candy thermometer. Every step depends on temperature, so this is the one tool you can’t skip.
- A whisk or spoon, a ladle, a 1-cup measure and a small bowl.
- Clean jars with lids. Glass, food-safe plastic and metal all work, and small containers set faster than one large one (Illinois Extension).
- A sink or large bowl of cold water for cooling the milk.
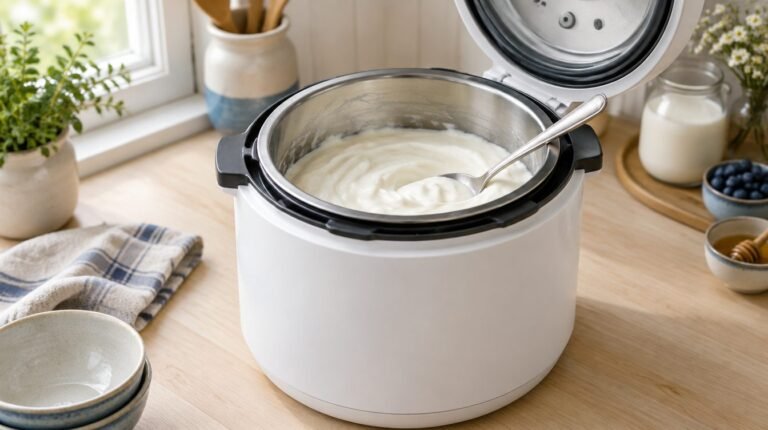
- A way to hold the milk near 110°F (43°C) for several hours (see below).
Ways to keep the milk at 110°F (43°C)
Yogurt cultures can be killed above 130°F (54°C) and grow poorly below 98°F (37°C), according to University of Alaska Fairbanks (UAF) Cooperative Extension. Your incubator’s job is to hold a steady temperature near 110°F (43°C).
| Method | How to set it up |
|---|---|
| Yogurt maker | Follow the manufacturer’s directions (UAF). For water-bath models, Ultimate Health Solutions, the company that publishes this site, recommends filling the water to about ½ inch (1.3 cm) from the top, level with the milk in the jars, and leaving ½ inch of headspace in each jar. |
| Oven | Preheat to 200°F (93°C), then turn it off (Illinois). Set the jars in a deep pan of 110°F (43°C) water reaching at least halfway up the jars (UAF), and switch the oven on briefly when it cools. |
| Insulated cooler | Fill it halfway with water at about 120°F (49°C), set the covered jars inside, and add warm water up the sides of the jars without covering them. Close the lid and wrap the cooler in a towel (Illinois). |
| Thermos | Preheat it with boiling water, pour that out, and fill it with the cultured milk at 110–115°F (43–46°C) (UAF). |
| Multicooker with a yogurt setting | Follow the manufacturer’s directions (Illinois). |
Ovens, coolers and thermoses lose heat, so monitor the temperature and add warmth when it drops. An appliance with a thermostat holds it for you.
Ingredients for 1 quart of homemade yogurt
- 1 quart (about 950 mL) pasteurized milk. Any fat level works; higher milk fat makes creamier yogurt.
- 2 tablespoons (30 mL) plain yogurt with live cultures (Illinois Extension), or a freeze-dried starter packet, generally one 5-gram packet per quart; follow the packet’s directions.
- Optional: ⅓ cup (80 mL) nonfat dry milk powder for a firmer set, or ⅔ cup (160 mL) with skim milk (UAF).
For a gallon, multiply everything by four; UAF uses 1 cup of starter per gallon.
Choosing the milk
Use commercially pasteurized milk. Pasteurization destroys E. coli O157:H7 (WSU), and the NCHFP warns that this strain tolerates acid, so the yogurt’s acidity alone can’t make unpasteurized milk safe. The NCHFP says to pasteurize such milk first: heat it to 165°F (74°C) while stirring constantly, then cool it quickly in ice water or cold running water.
Fat level mostly changes texture. Ultimate Health Solutions recommends half-and-half for the thickest yogurt without straining, with whole milk second. With lower-fat milk, dry milk powder firms the set; whisk it in while the milk is cold, because powder added to hot milk turns stringy.
Choosing the starter
Pick a plain, unflavored yogurt whose label says it contains live cultures, including L. bulgaricus and S. thermophilus (NCHFP). Use it before its best-by date: fresher starter is more active, and starter with dead bacteria won’t make yogurt. Yogurt from your last batch works if it is no more than 5 to 7 days old (Illinois).
More starter isn’t better. WSU Extension says too much crowds the bacteria and can make yogurt sour rather than pleasantly tart. Extension recipes use 2 tablespoons (Illinois) to ¼ cup (UAF) per quart.
How to make yogurt at home, step by step
- Clean everything. Wash your hands (Illinois). Wash the pot, utensils and jars in hot, soapy water, rinse well and air dry (UAF); detergent residue can stop the culture working. To sterilize jars, boil them for 10 minutes (UAF).
- Heat the milk to 180–185°F (82–85°C). Whisk in any milk powder while the milk is cold. Warm it over low heat, stirring gently, until it reaches 180–185°F (82–85°C); it will steam, with small bubbles at the edge of the pot (Illinois). Don’t let it boil, which causes off flavors.

- Hold it there for 10 to 20 minutes. Ten minutes gives softer yogurt; 20 gives thicker (WSU). The heat kills competing bacteria and changes the whey proteins so the milk sets smoothly instead of separating into curds and whey (WSU, UAF). It doesn’t replace pasteurization (UAF). Our guide to yogurt temperature explains each temperature.
- Cool it to 112–115°F (44–46°C). Set the pot in cold water and stir now and then until it reaches 112–115°F (44–46°C). Lift out any clumps or strings with a slotted spoon, or strain the milk (UAF).
- Mix in the starter. Ladle about 1 cup of the warm milk into a small bowl, stir in the yogurt until smooth, then stir it gently back into the pot (Illinois). The milk should now be about 110–112°F (43–44°C) (UAF).

- Fill and cover the jars. Pour the milk into clean, warm containers and put the lids on (UAF).
- Incubate at 110°F (43°C) for 6 to 8 hours. Hold the jars at 110°F (43°C), within 5°F (3°C) either way, and don’t move them, because agitation causes excess whey. Published windows vary: 4 to 7 hours (UAF), 6 to 8 (WSU), up to 10 for large containers (Illinois). Ultimate Health Solutions uses 8 hours at 110°F (43°C). Longer means tangier; see how long to incubate yogurt.
- Check that it has set. From about 4 hours, gently tilt one jar. It’s ready when it has set to a jelly-like gel and no longer flows like milk (WSU). If not, check again every hour until the end of your window.

- Refrigerate right away. Chill the jars at 40°F (4°C) or below as soon as they set; quick chilling stops acid development. Eat it within 14 days (Illinois); see how long homemade yogurt lasts for storage details.
Why homemade yogurt fails, and how to fix it
Most problems come down to the starter, the temperature or the timing.
| Problem | Likely causes | Fix |
|---|---|---|
| Didn’t set | Inactive starter, wrong incubation temperature or detergent residue (WSU) | Discard the batch (UAF). Next time use fresh starter, check the incubator with a thermometer and rinse equipment well. |
| Thin or separated | Incubated too long, weak starter, temperature too hot or cold, milk not heated enough, or slow chilling (Illinois) | Hold the heated milk for 20 minutes, add milk powder to the cold milk and chill as soon as it sets. Straining thickens a thin batch. |
| Too sour | Over-incubation (UAF) or too much starter (WSU). Reusing the same culture batch after batch lets L. bulgaricus dominate, giving excess acid (University of Kentucky). | Shorten incubation, use 2 tablespoons of starter, chill promptly and switch to fresh starter every 5 to 6 batches (WSU). |
| Watery whey on top | Some is normal; excess comes from over-incubation or moving the jars (UAF) | Stir it back in or pour it off. Next time, shorten the time and keep the jars still. |
| Grainy or stringy | Milk powder added to hot milk (WSU) | Add powder to cold milk; strain out clumps before adding starter (UAF). |
| Off taste or smell | Stale milk or starter, unclean equipment, uncovered jars (Illinois) or boiled milk (UAF) | Start over with fresh milk and new starter. Throw out yogurt that smells like anything but clean, acidic yogurt (UAF). |
When to throw a batch out
UAF says to discard any batch that fails to set, shows visible mold or other growth, or smells like anything other than fresh, acidic yogurt. Don’t scoop mold off: USDA’s Food Safety and Inspection Service says to throw out moldy yogurt, because high-moisture foods can be contaminated below the surface.
Frequently asked questions
Do you need a yogurt maker to make yogurt at home?
No. Any setup that holds the milk near 110°F (43°C) for several hours works, including an oven with a pan of warm water, an insulated cooler or a preheated thermos (UAF Extension).
Can you use homemade yogurt to start the next batch?
Yes, within 5 to 7 days of making it (Illinois Extension). Switch to fresh starter every 5 to 6 batches, because the culture’s activity declines over time (WSU Extension).
Is it safe to keep milk warm for 8 hours?
Why is my homemade yogurt runny?
Usually the starter was weak, the incubation temperature drifted, or the milk wasn’t heated enough before the starter went in (Illinois Extension). Holding the heated milk for 20 minutes and adding milk powder both give a firmer set (UAF).
More on homemade yogurt
- How to Make Greek Yogurt: A Step-by-Step Guide: strain a finished batch into thick Greek-style yogurt.
- How to Make Yogurt Starter: A Step-by-Step Guide: saving, freezing and refreshing a culture.
- How to Make Yogurt without Starter: A Step-by-Step Guide: options when you have no packaged starter.
- Homemade Yogurt: What You Need to Know: why people make their own, cost and safety basics.
- How to Make Greek Yogurt Taste Good: A Step-by-Step Guide: flavoring and pairing ideas for plain yogurt.
Sources
- University of Illinois Extension. Making Yogurt at Home (Best Practice Guide, 2024).
- Cascio J, Dinstel RR. Making Yogurt at Home (FNH-00062). University of Alaska Fairbanks Cooperative Extension Service.
- Smith DK. Yogurt Made Simple. Washington State University Extension (copy distributed by the UC Master Food Preserver Program).
- Nummer BA. Fermenting Yogurt at Home. National Center for Home Food Preservation, 2002 (reprint hosted by UC Davis).
- University of Kentucky Cooperative Extension Service. Making Yogurt at Home (IP-36).
- Allam A, Shafik N, Zayed A, et al. Plain set and stirred yogurt with different additives: implementation of food safety system as quality checkpoints. PeerJ. 2023;11:e14648.
- Electronic Code of Federal Regulations. 21 CFR 131.200, Yogurt.
- USDA Food Safety and Inspection Service. Molds on Food: Are They Dangerous?
- The Ultimate Yogurt Guide (eBook), Ultimate Health Solutions, publisher of this site